How to Install European Interior Doors
Installing our interior doors is simple and unique. The installation procedure is meant to cater both to the home owner as well as the professional installer. All doors come with installation instructions, of course, but we have also summarized the installation process below.
Your interior doors will arrive as 2 separate packages. One will be your Door Panel and the other will be your Door Frame. Both are individually packaged to reduce transport damage.
Our Interior Door Installation provides you with the following benefits:
Foam Installation - The benefit is sound and heat transfer reduction while maintaining a firm structural install without nails or screws
Adjustable Hinges - The benefit is easy height and width adjustments through turning of the slim-line hinges
Adjustable Trims - The benefit is increased flexibility of frame depth when dealing with out-of-plum walls and uneven drywall
You will find a video and step-by-step picture guide below.

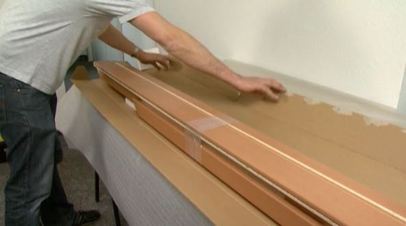
Open your Door Frame Package
|
Interior Door Installation - Step 1Open you Door Frame Package and be careful not to use sharp objects that could potentially damage the frame while opening the box.
|
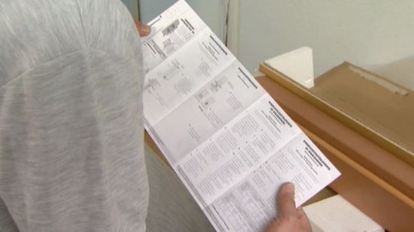
Read Instructions
|
Interior Door Installation - Step 2Read Assembly Instructions carefully.
|
|
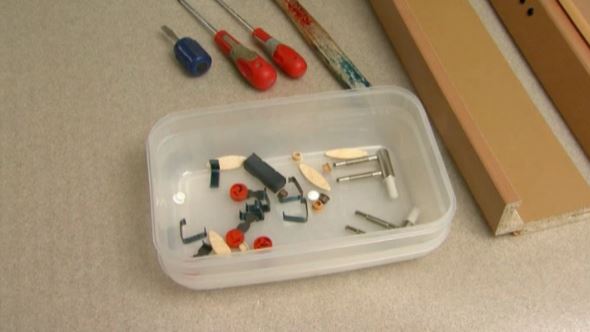
Interior Door Installation - Step 3All necessary accessories will be provided. Keep them together in a convenient location.
|
|
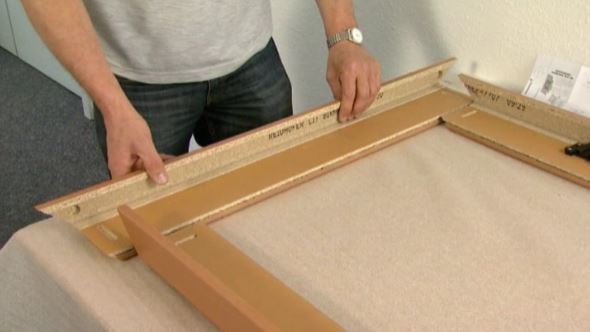
Interior Door Installation - Step 4Assemble the 3 frame pieces on a flat, soft surface.
|
|
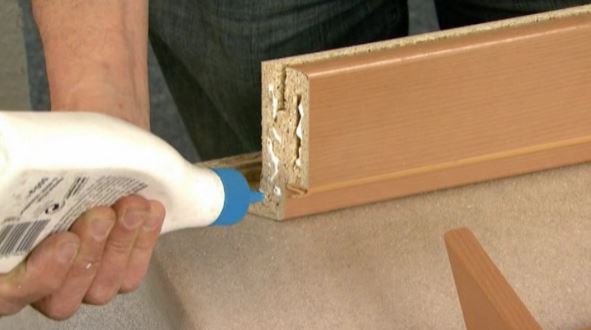
Interior Door Installation - Step 5Use wood glue and wood biscuits on the joints.
|
|
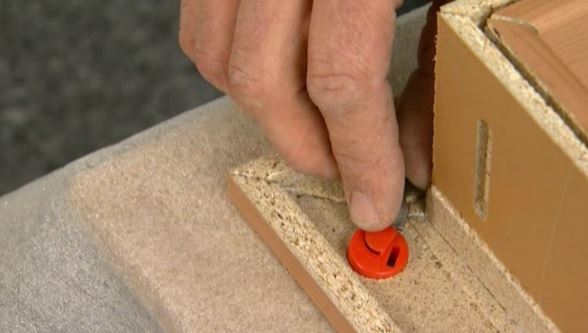
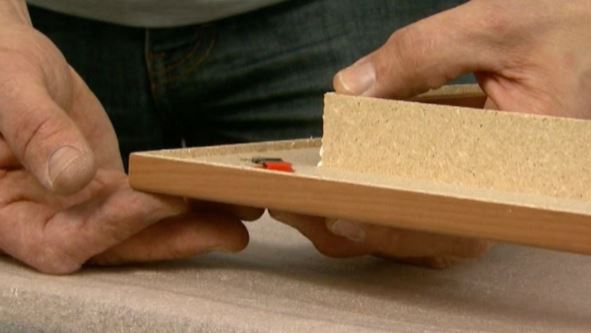
Interior Door Installation - Step 6Use the supplied red frame tension connectors.
|
|
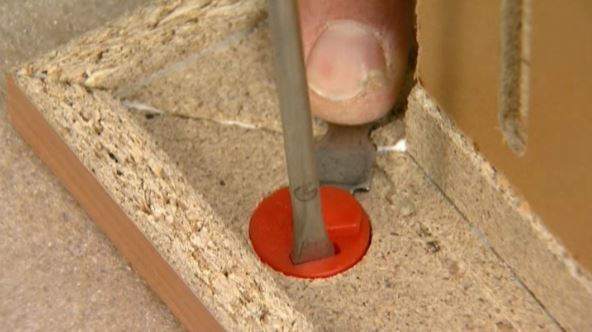
Interior Door Installation - Step 7Increase tension by turning the connectors with a flat head screwdriver.
|
|
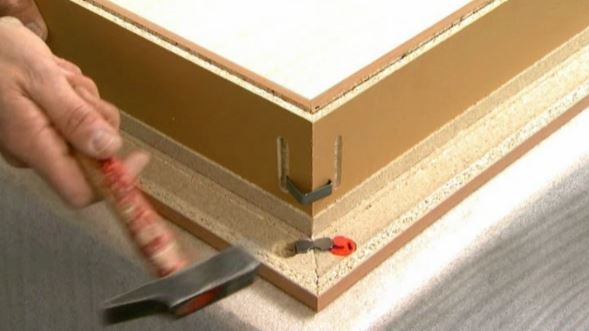
Interior Door Installation - Step 8Wipe off all excess glue and hammer on steel clamps.
|

|
Interior Door Installation - Step 9Check the opening and make sure everything is as plumb and level as possible.
|

|
Interior Door Installation - Step 10Place the frame in the opening and use shims to make sure the frame is plumb and level. *We recommend a laser level.
|
|
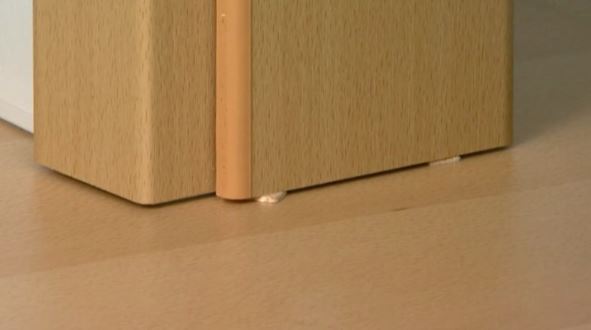
Interior Door Installation - Step 11Raise the frame 1/16" to 1/8" off the finished floor with small shims.
|
|
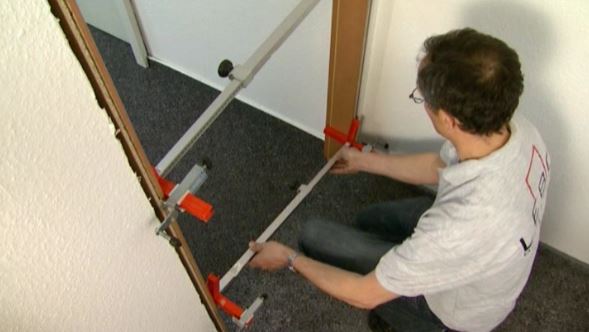
Interior Door Installation - Step 12Use clams/spreaders to achieve a consistently wide frame opening at the top, middle and bottom of the doorway.
|
|
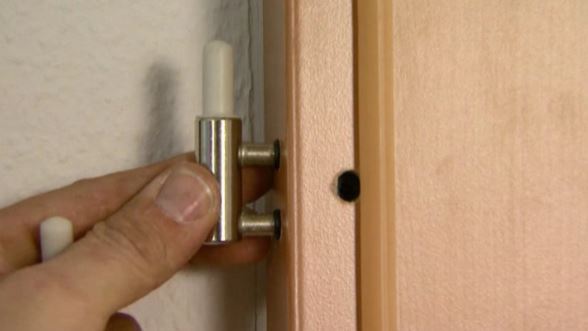
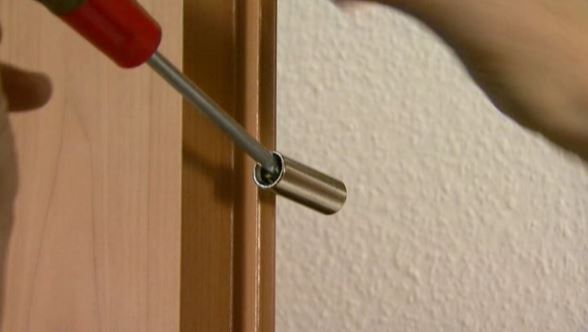
Interior Door Installation - Step 13Install Frame Hinges by inserting the hinge and tightening with the supplied Hex L-Key.
|

|
Interior Door Installation - Step 14Un-package and hang your door panel to make sure the panel moves freely and does not bind at header, jamb or floor.
|

|
Interior Door Installation - Step 15Use Low-Expansion Door and Window Foam to foam the cavity between door and wall studs. Let the foam fully dry.
|
|
Interior Door Installation - Step 16Hinges can be adjusted by turning them in either direction.
|
|
Interior Door Installation - Step 17Assemble the trims using wood glue and the red tension connectors.
|
|
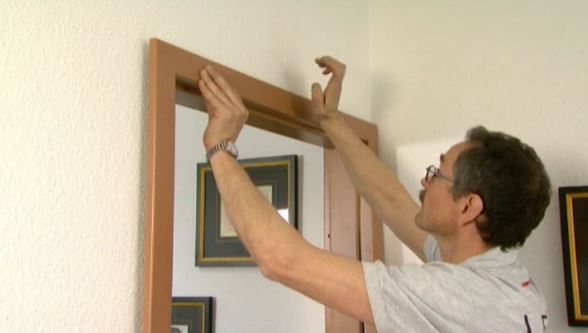
Interior Door Installation - Step 18Carefully press the assembled trim into the grove in the frame.
|
|
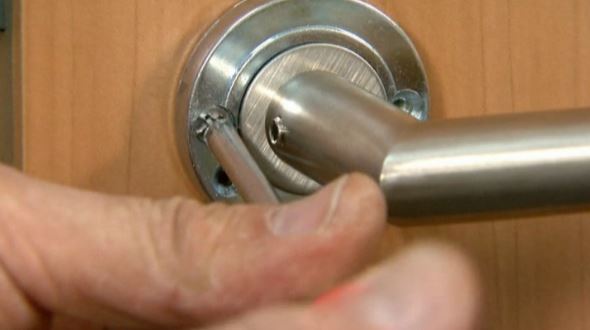
Interior Door Installation - Step 19Install your door handles. Mortise locks are already supplied with the door panel.
|

|
Interior Door Installation - CompleteYou are done. Enjoy your new doors!
|